Correcting Perspective
In order to reduce model size while simultaneously displaying realistic textures, we can use photos of real buildings on our models, eliminating the need to model every vertex. Because of the distance at which photos of buildings can be taken, this means that photos are taken in perspective, which must be changed to an isometric view (straight-on and without perspective) in order to create a realistic texture. NOTE: Photos from directly in front of the building make the task much easier.
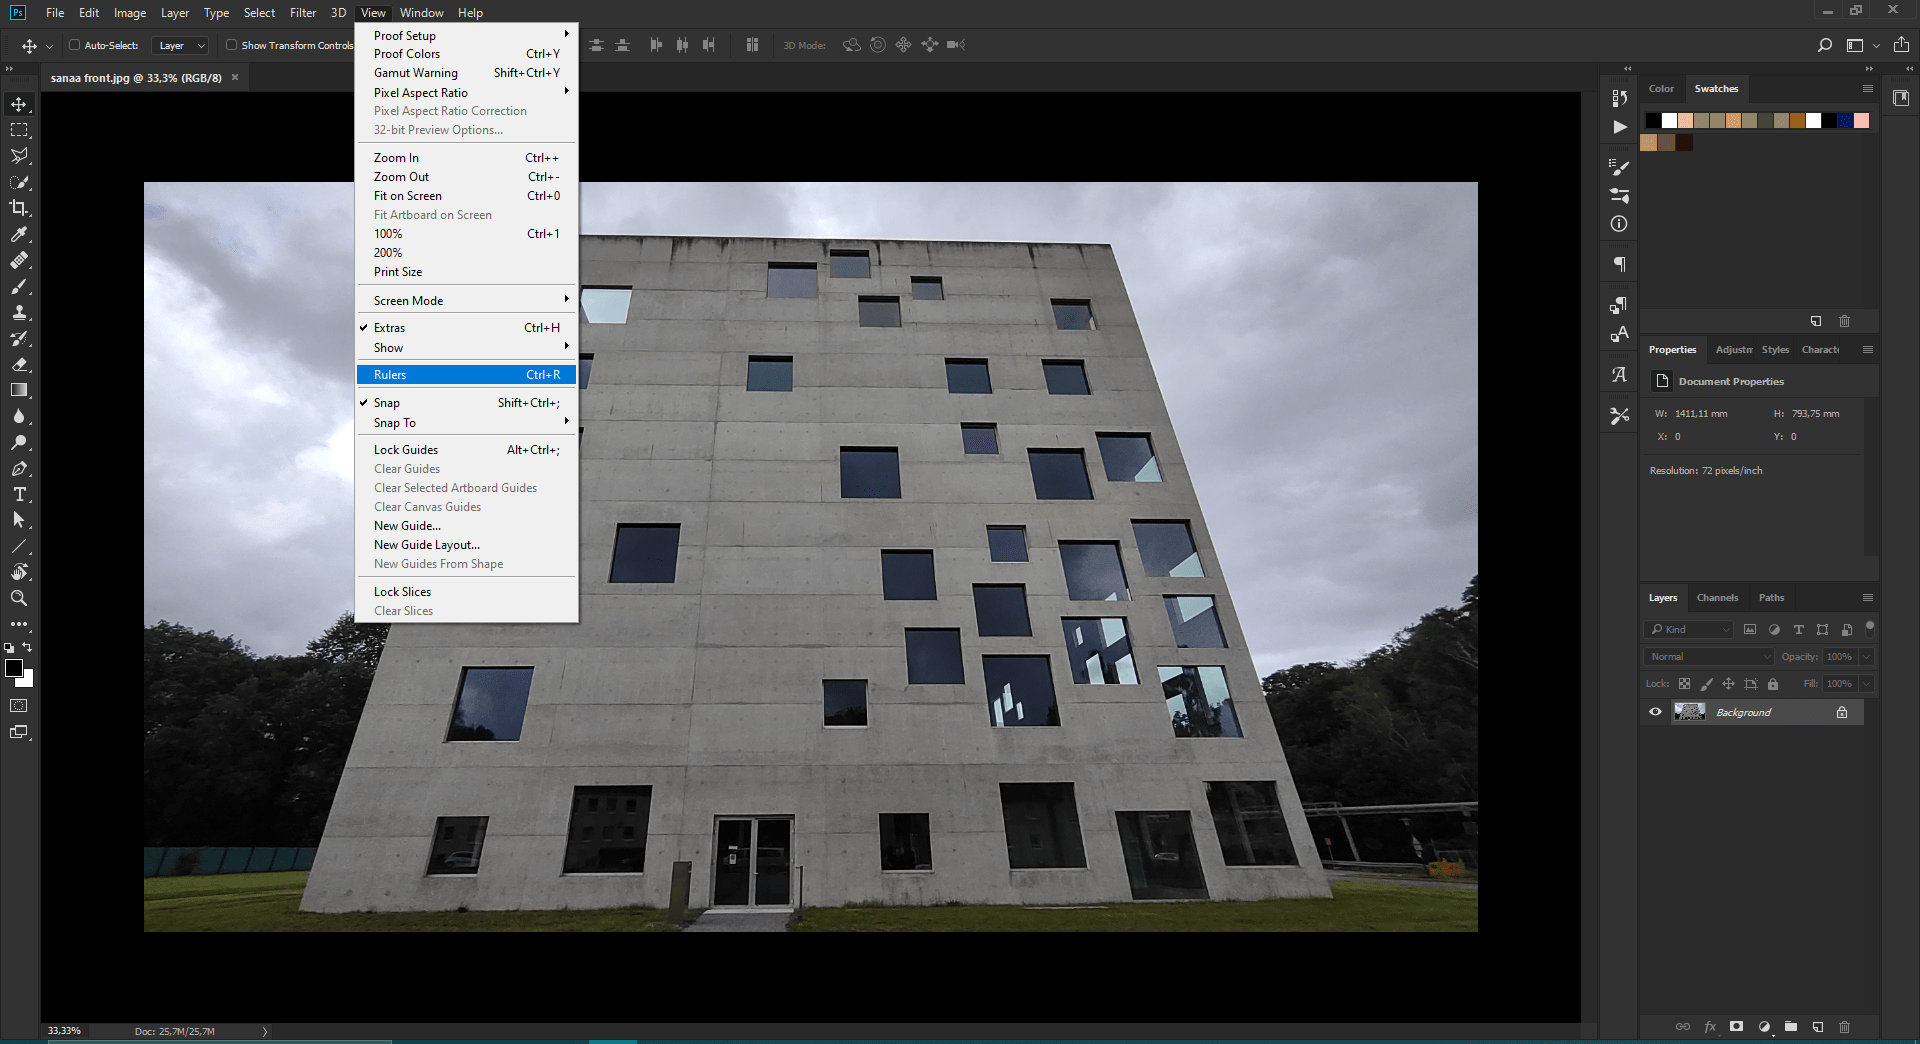
The first task is adding guidelines to ensure the photo is as square as possible. Turn on rulers under View- Rulers.
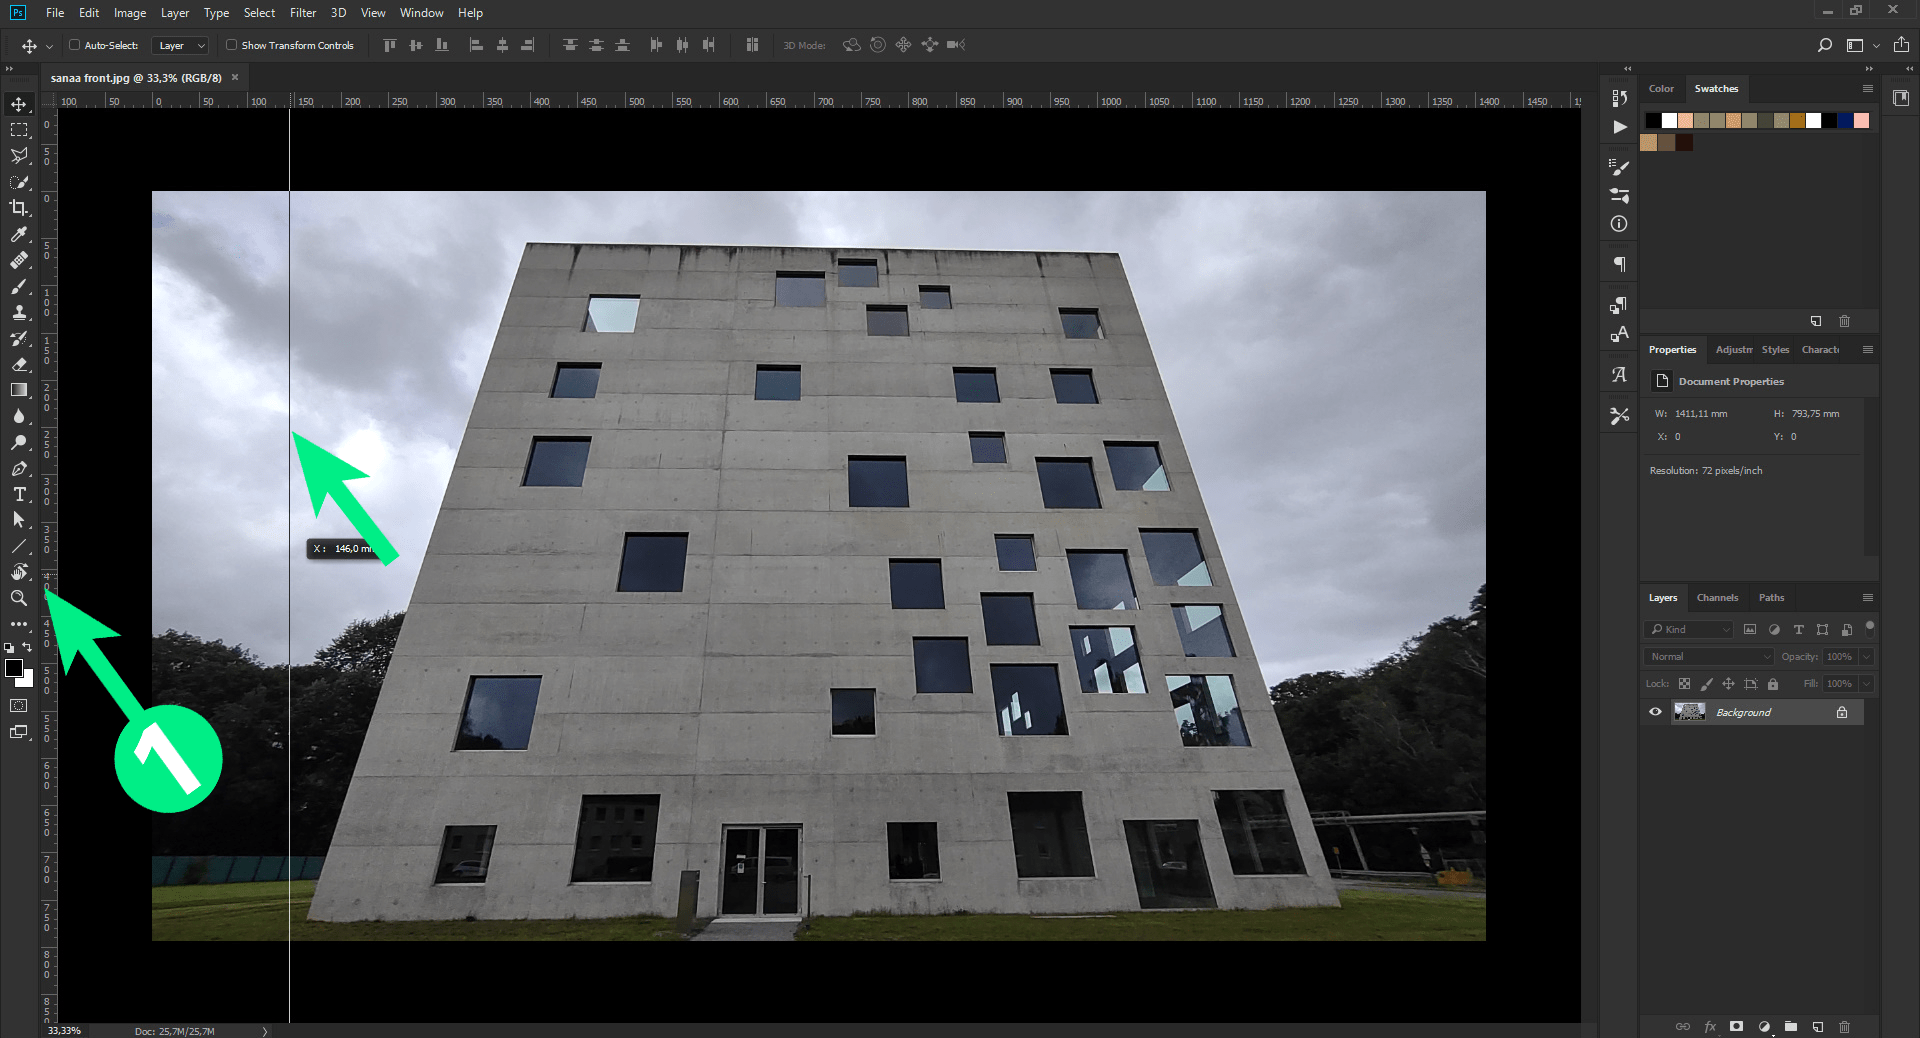
Click onto the rulers (1) and drag guidelines onto the photo to roughly where they are needed.

With the guidelines arranged in a box, we can begin correcting the perspective. choose Edit- Transform- Perspective.
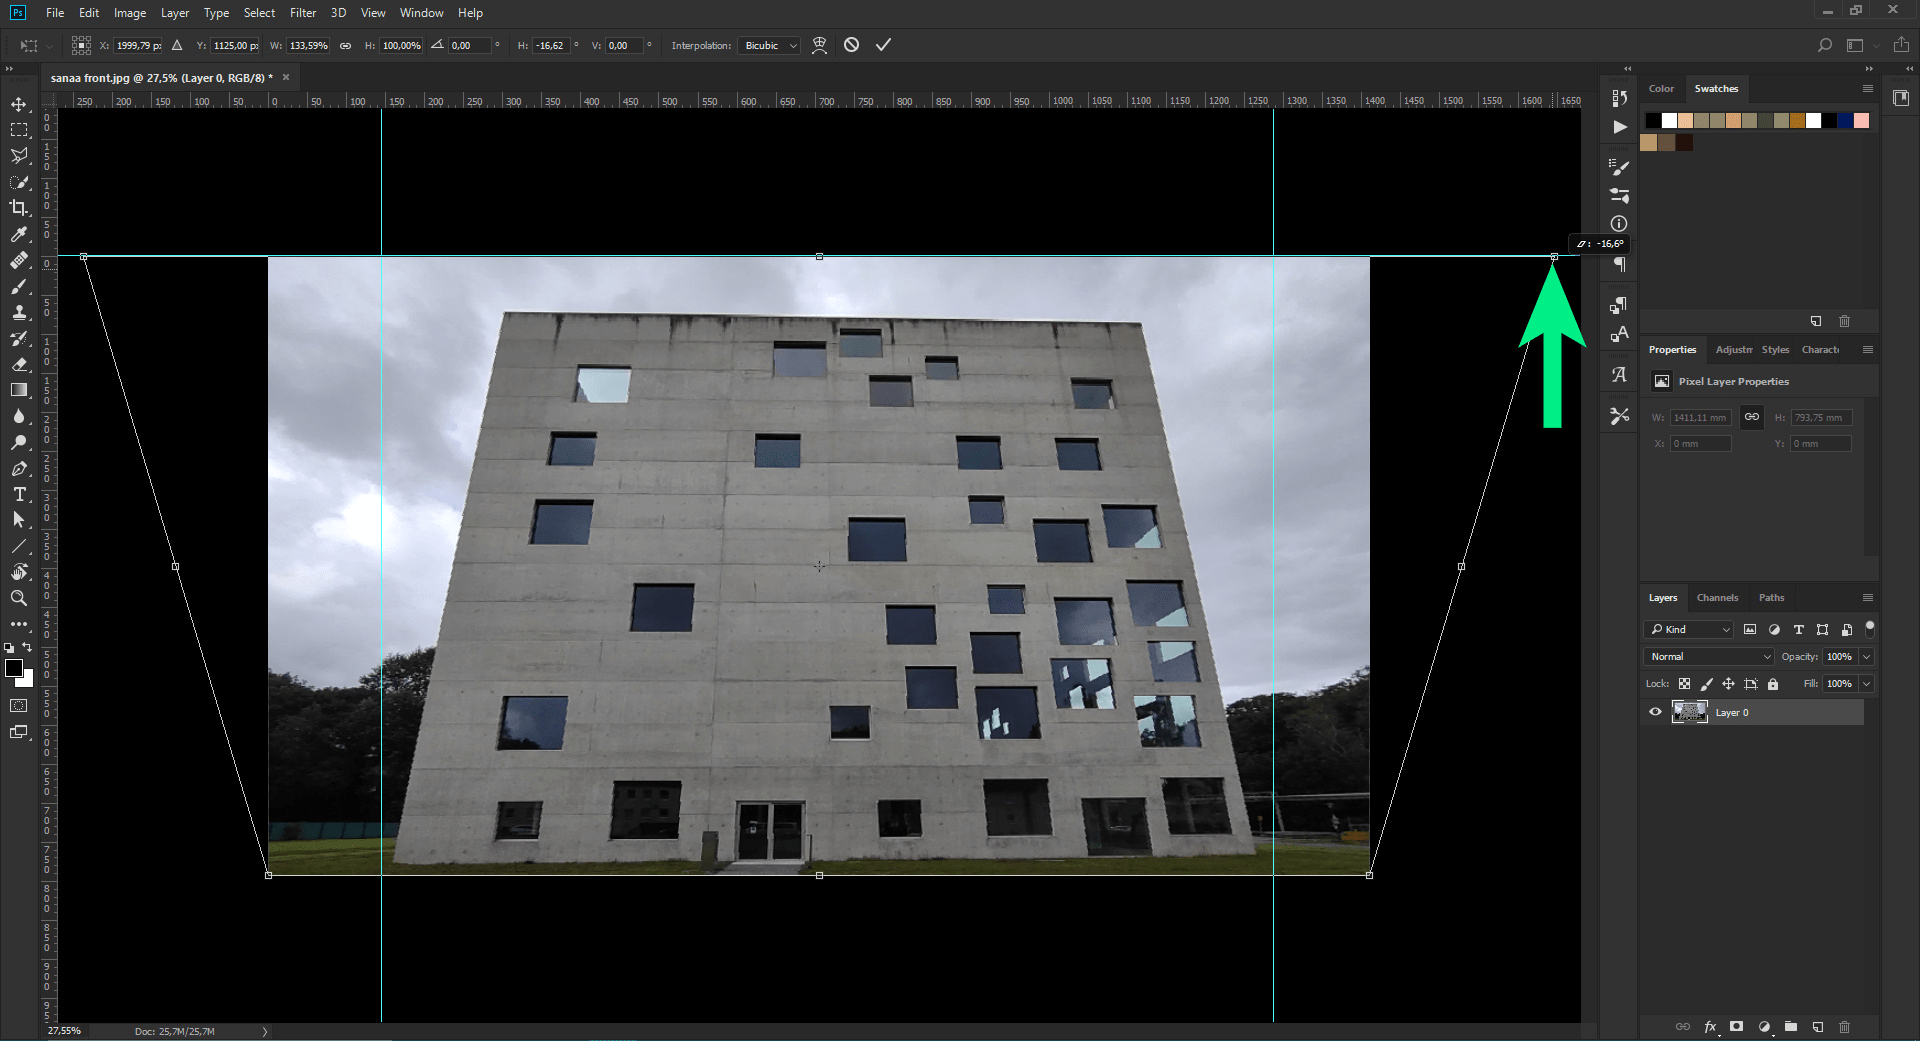
A box appears around the photo. Click on the control points in the corner and drag outwards.
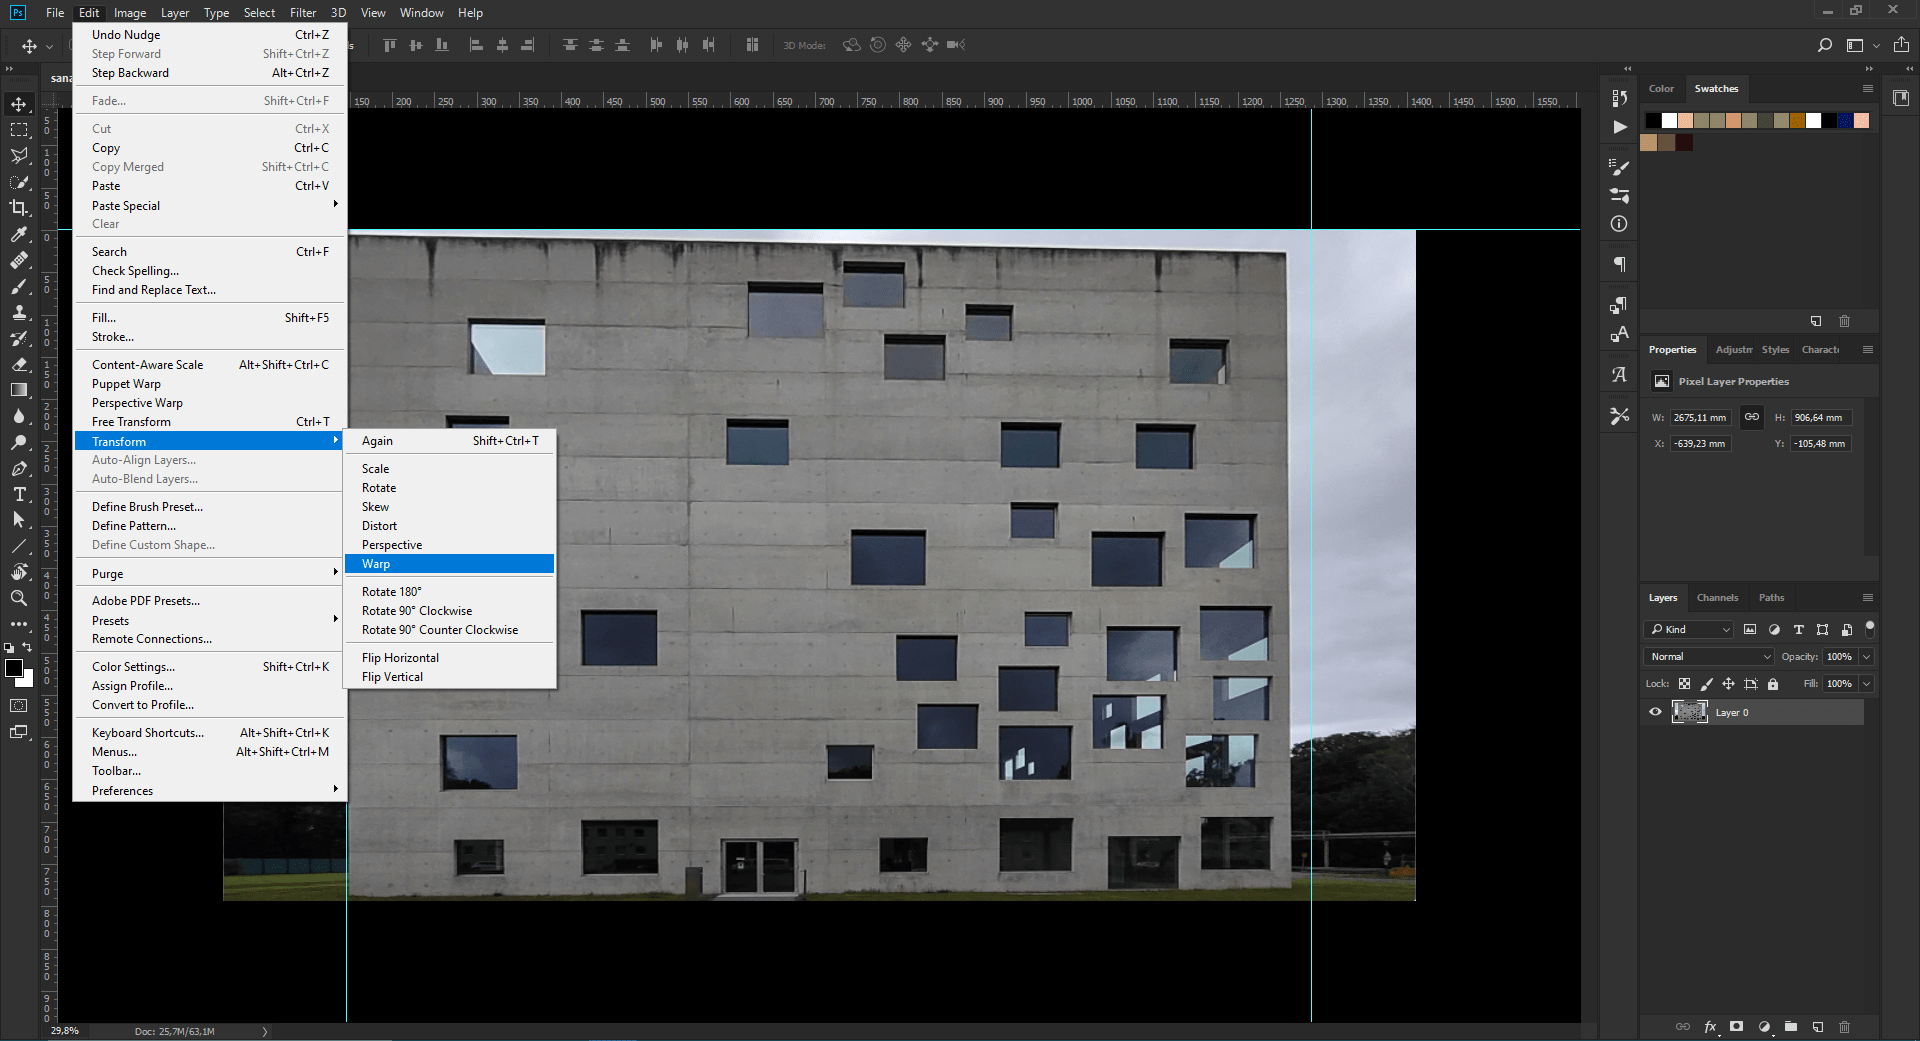
Perspective can be almost completely controlled via the Transform- perspective operation. However, if the photo is now warped, it may be necessary to warp the photo to fit the new isometric view. This should be used at the end as a fine adjustment.
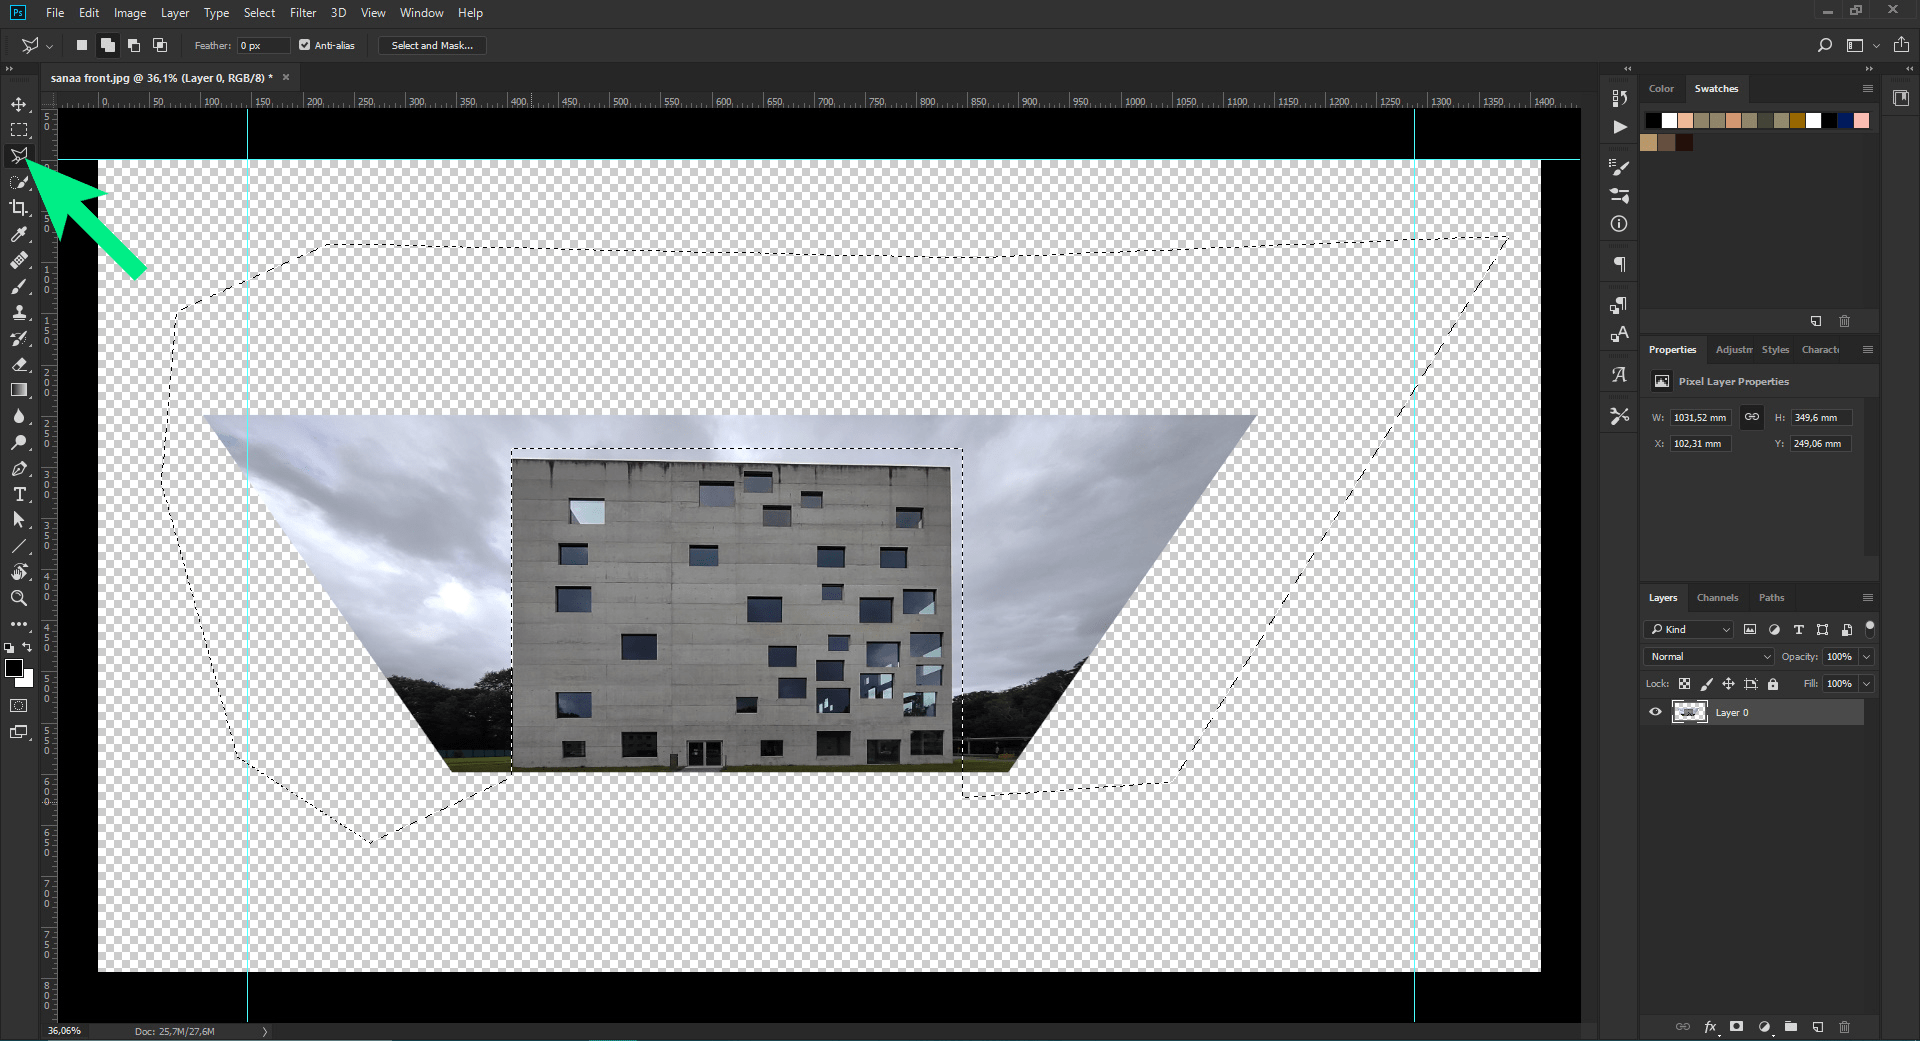
The background is not needed for the texture. Resize the photo (Ctrl + T) and use the Lasso tool to remove the bulk of the background.
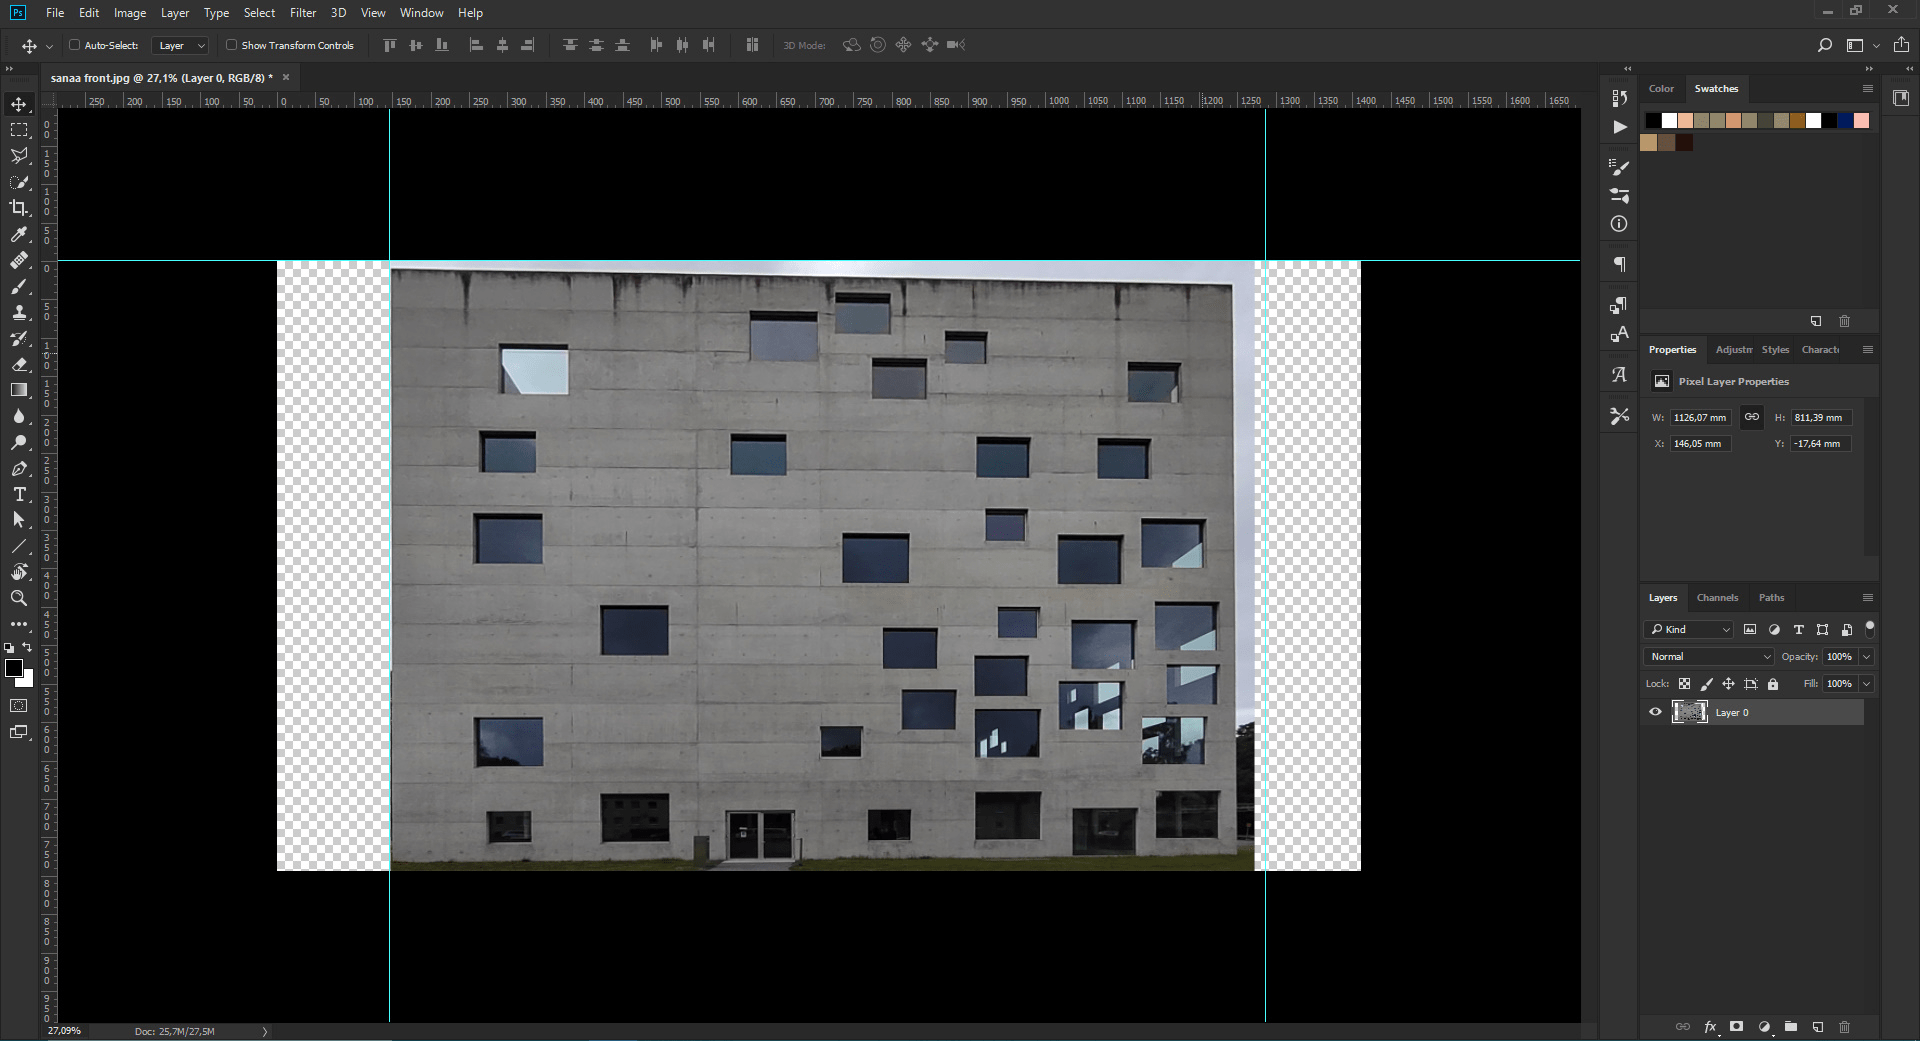
With the background removed, fit the photo back into the guides. Once the building fits perfectly into the guides, use the lasso tool on the guides to remove any remaining background
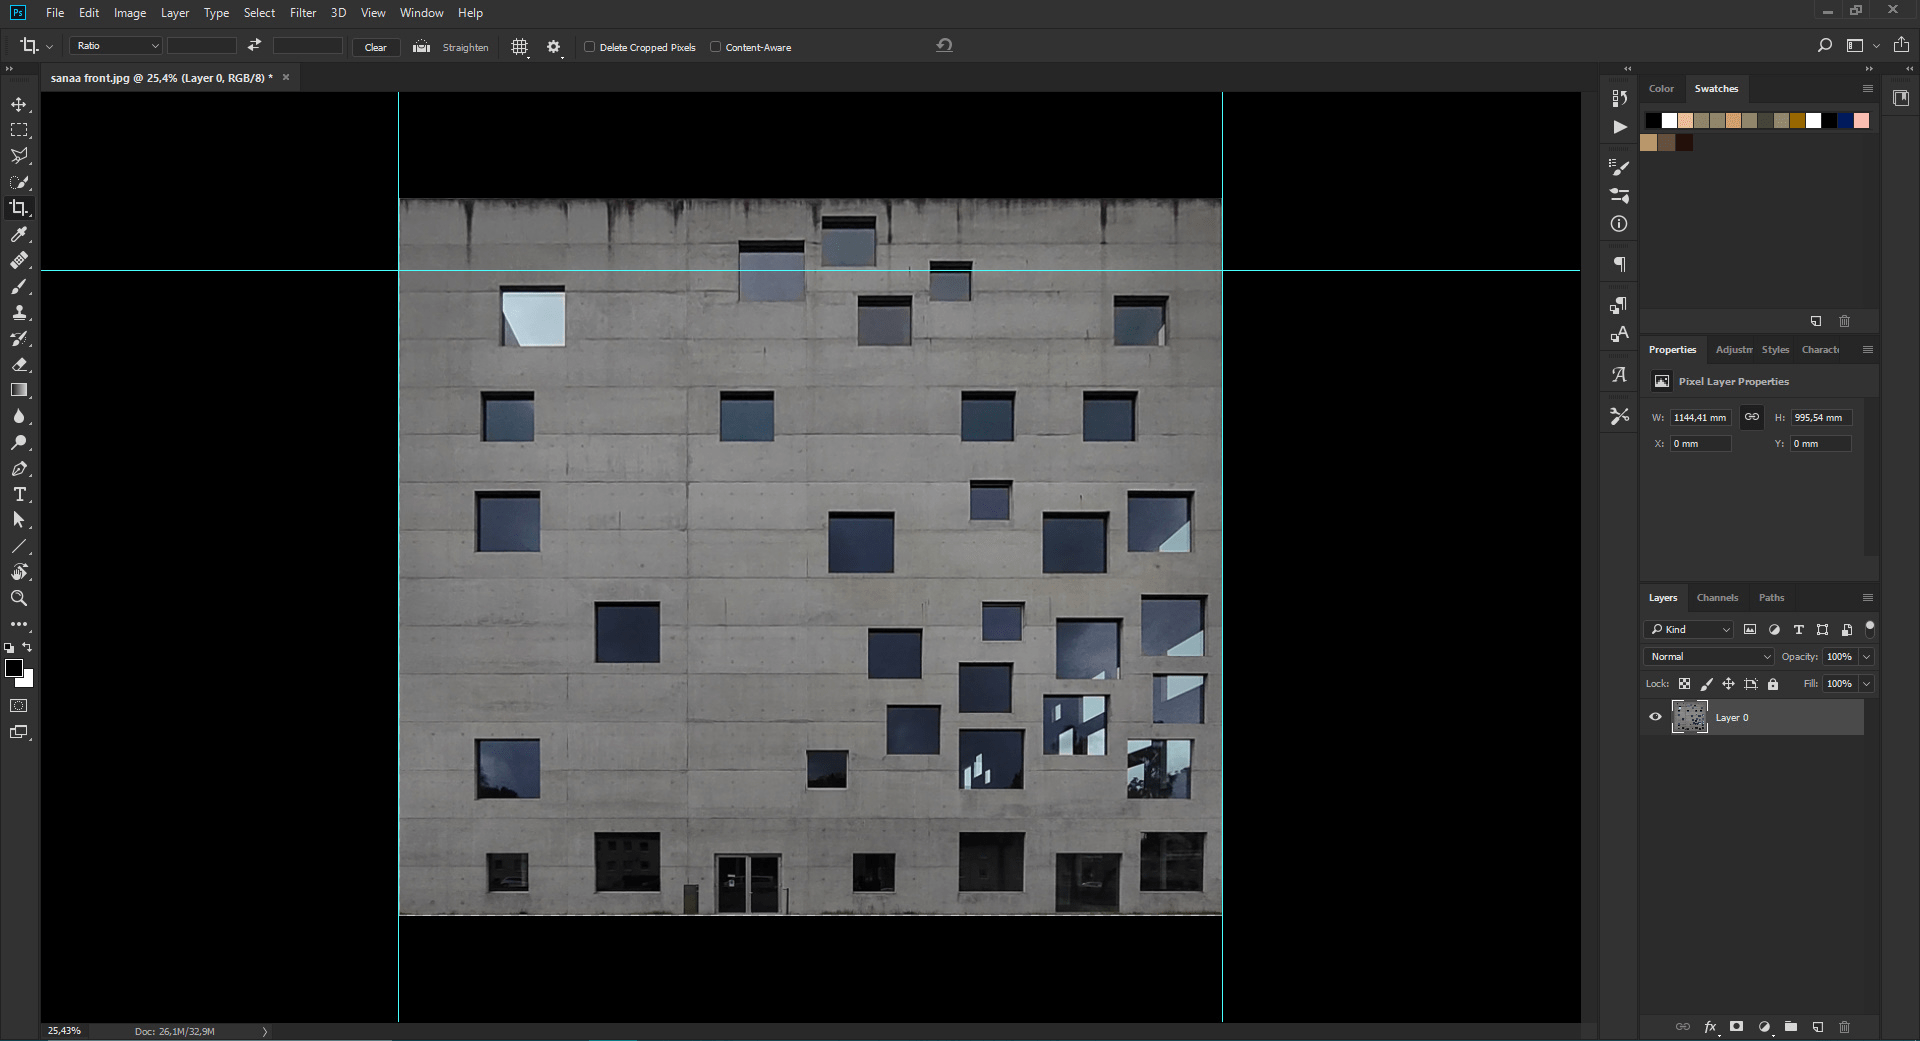
The building is actually much taller than the photo shows, which needs to be corrected. Using transform (Ctrl + T), pull the top of the photo upwards until it looks correct. If the exact dimensions of the building are known, it is possible to use the ruler to scale it to the correct size, though this is not really necessary as long as the dimensions are roughly the same.
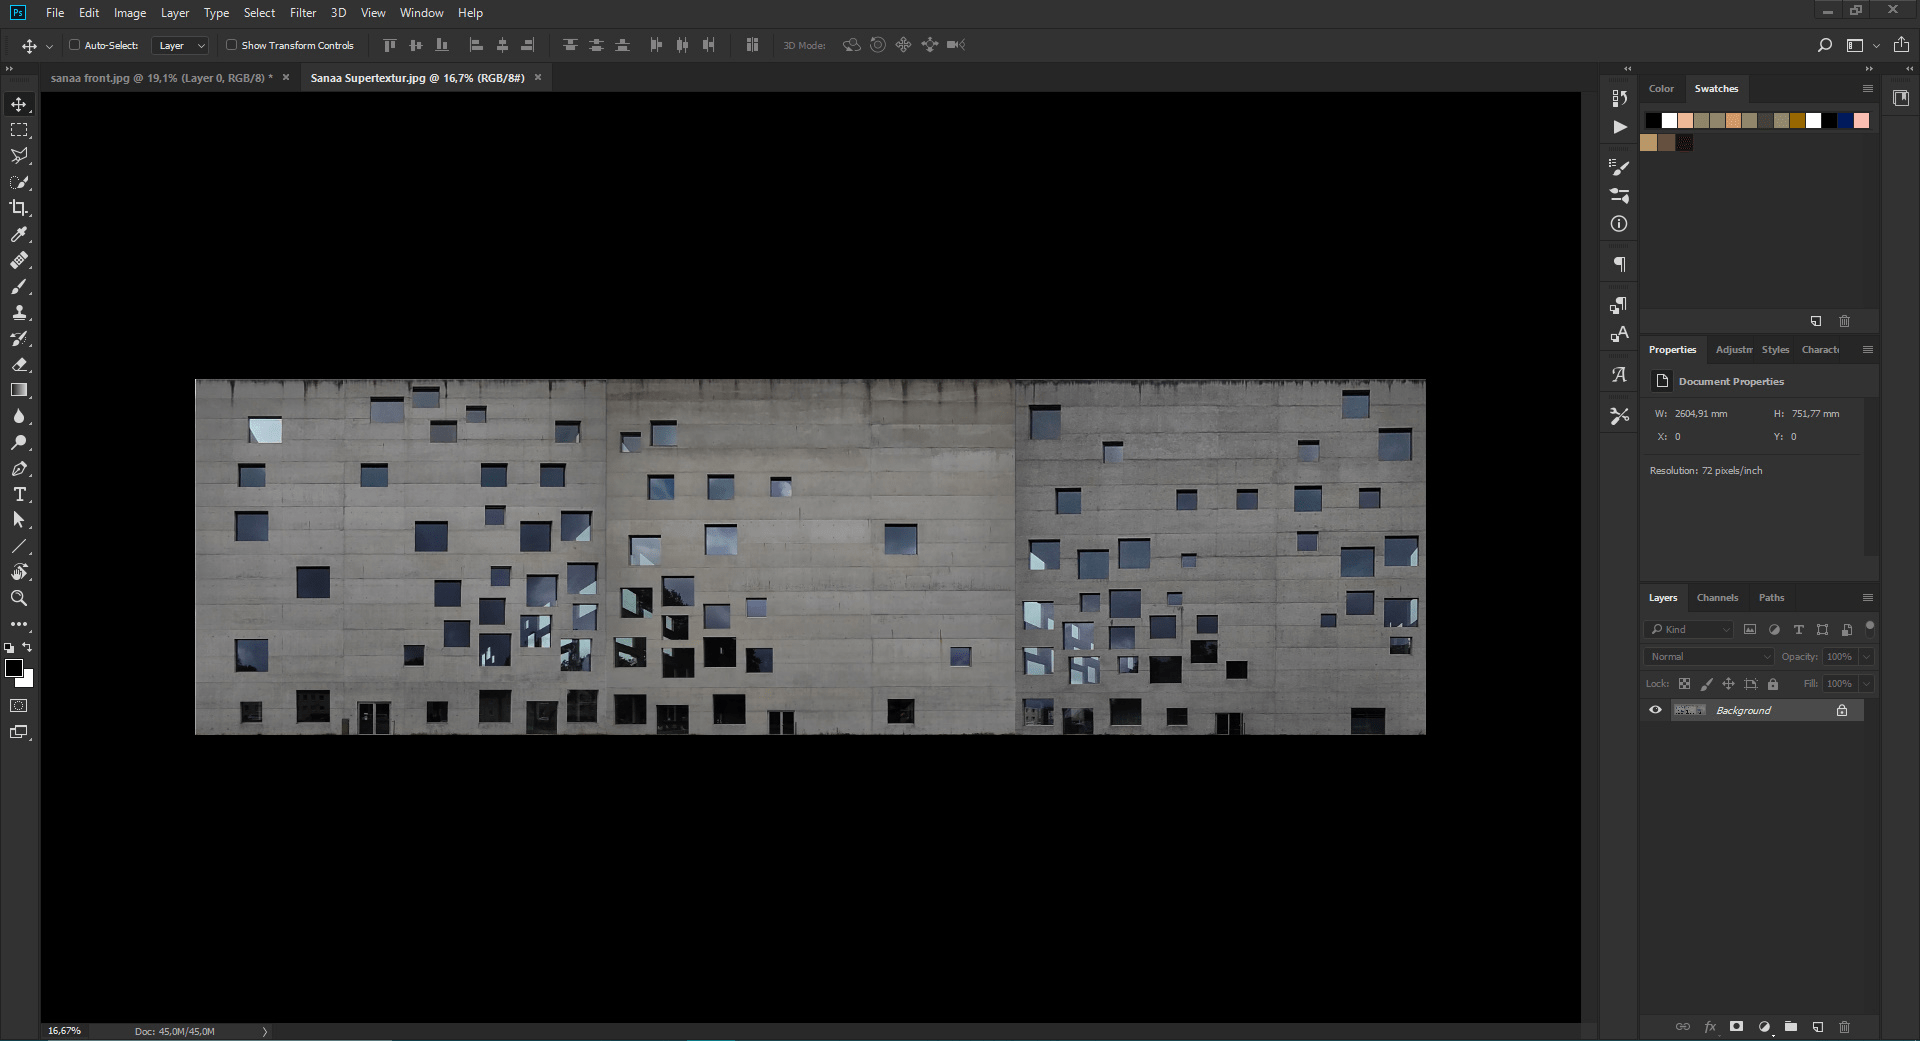
Once this process is done for all sides, they can be added together side by side. Correct any size differences and crop the image using the crop tool on the toolbar. One texture file will make the UV Mapping easier. Only three sides are used here in order to better explain UV Mapping.
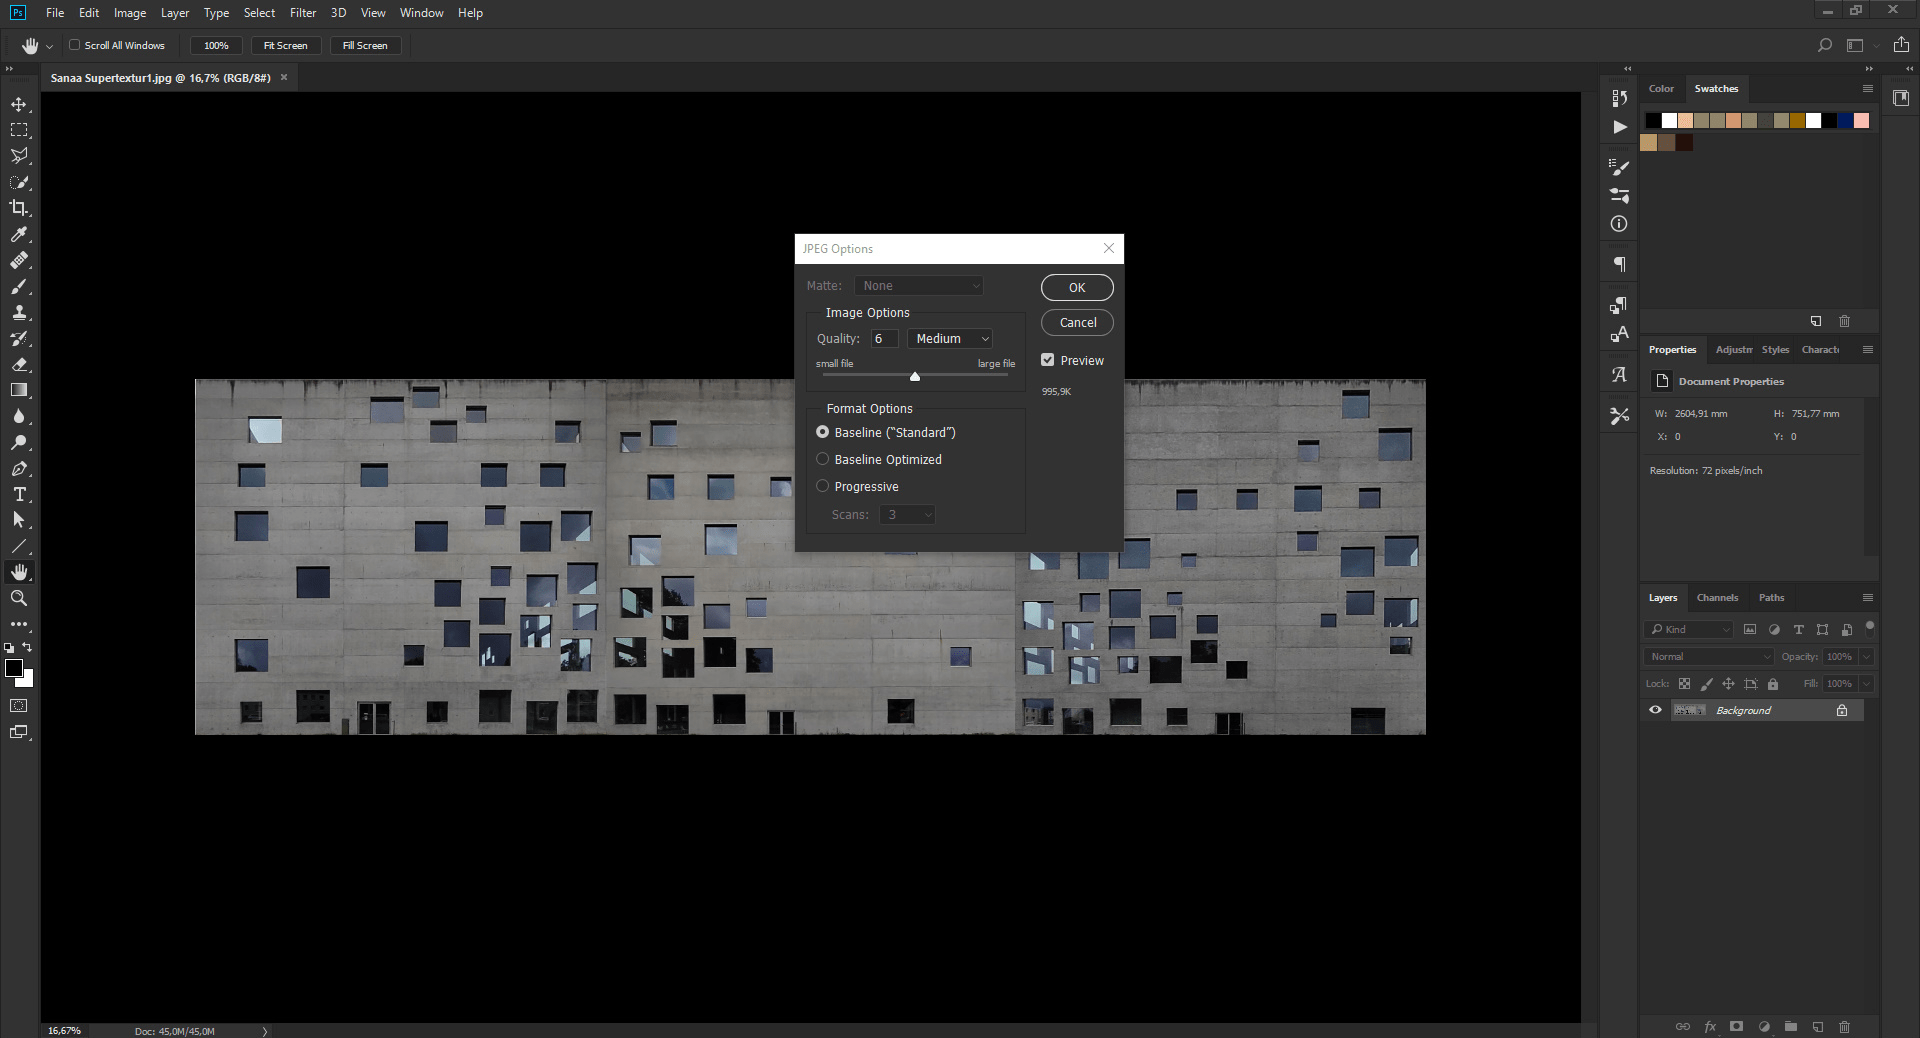
When saving, reduce the file quality to reduce it’s size.